Contents
- 1 Why Choose DIY Headboards Over Store-Bought Options?
- 2 Essential Materials for Your DIY Upholstered Headboard Project
- 3 Step-by-Step Guide to Creating DIY Headboards
- 4 Advanced Techniques for Professional-Looking DIY Headboards
- 5 Fabric Selection Guide for DIY Headboards
- 6 Mounting Options for Your DIY Upholstered Headboard
- 7 Troubleshooting Common DIY Headboard Issues
- 8 Maintenance and Care for Your DIY Upholstered Headboard
- 9 Cost Analysis: DIY Headboards vs. Store-Bought
- 10 Conclusion
- 11 Frequently Asked Questions (FAQs)
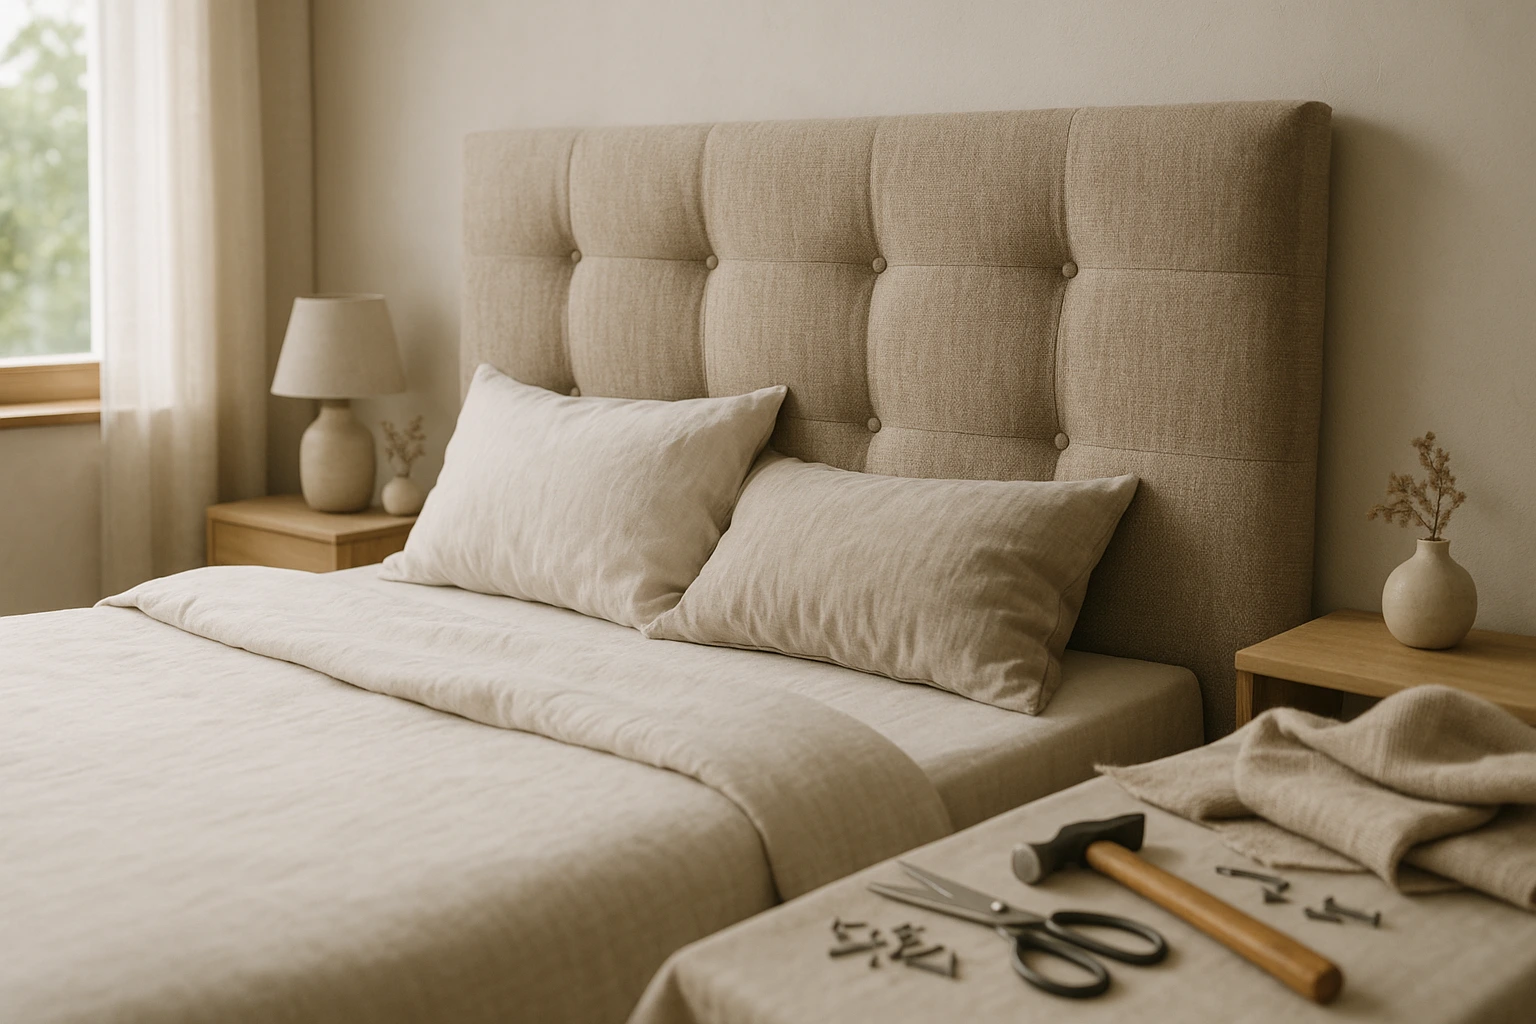
Creating your diy upholstered headboard has become one of the most rewarding home improvement projects you can tackle. Not only does it save money, but it also allows you to customize your bedroom exactly how you want it. Today, we’ll walk through everything you need to know about making diy headboards that look professionally crafted.
Why Choose DIY Headboards Over Store-Bought Options?
When you decide to make diy headboards, you’re choosing quality, customization, and significant cost savings. A professionally made upholstered headboard can cost anywhere from $300 to $800, but your diy upholstered headboard project will typically cost under $200, including all materials and tools.
The beauty of diy headboards lies in the complete control you have over fabric choice, size, and design details. You can match your existing decor perfectly or create a bold statement piece that becomes the focal point of your room.
Essential Materials for Your DIY Upholstered Headboard Project
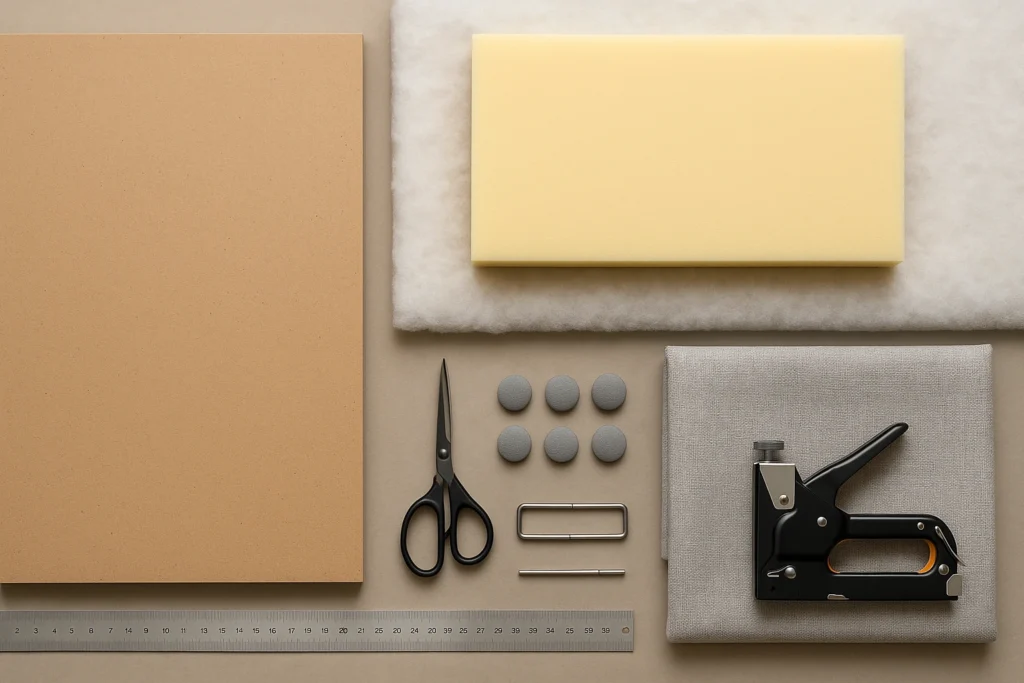
Before starting your diy upholstered headboard, gather these essential materials:
Base Materials
- MDF Board or Plywood: Choose a thickness of at least 18mm for stability
- High-density foam: 2-3 inches thick for optimal comfort
- Batting or wadding: Creates a smooth finish over foam
- Upholstery fabric: 2-3 yards, depending on headboard size
Tools and Hardware
- Heavy-duty staple gun: Essential for secure attachment
- Drill with bits: For pilot holes and button placement
- Sharp fabric scissors: Clean cuts prevent fraying
- Measuring tape and ruler: Precision is key for professional results
Optional Decorative Elements
- Covered buttons: Add tufted design to your diy headboards
- Upholstery needle: For button attachment
- Strong thread: Holds buttons securely in place
Step-by-Step Guide to Creating DIY Headboards
Planning Your DIY Upholstered Headboard Design
- Measure your bed dimensions: Standard diy headboards extend 2-4 inches beyond each side of the mattress
- Determine height requirements: The Typical range is 24-36 inches above the mattress top
- Consider ceiling height: Ensure a proportional look in your space
- Sketch your design on paper: Mark button placement if adding tufting to your diy upholstered headboard
- Plan button layout: This prevents costly mistakes during construction
Cutting and Preparing Materials
- Cut MDF board to planned dimensions: Many hardware stores offer cutting services for perfectly straight edges
- Measure foam carefully: Cut foam to match board size exactly using a sharp electric knife
- Test fit all pieces: Ensure foam sits flush with all edges of your board
- Prepare work area: Clear a large flat surface for assembly of your diy headboards
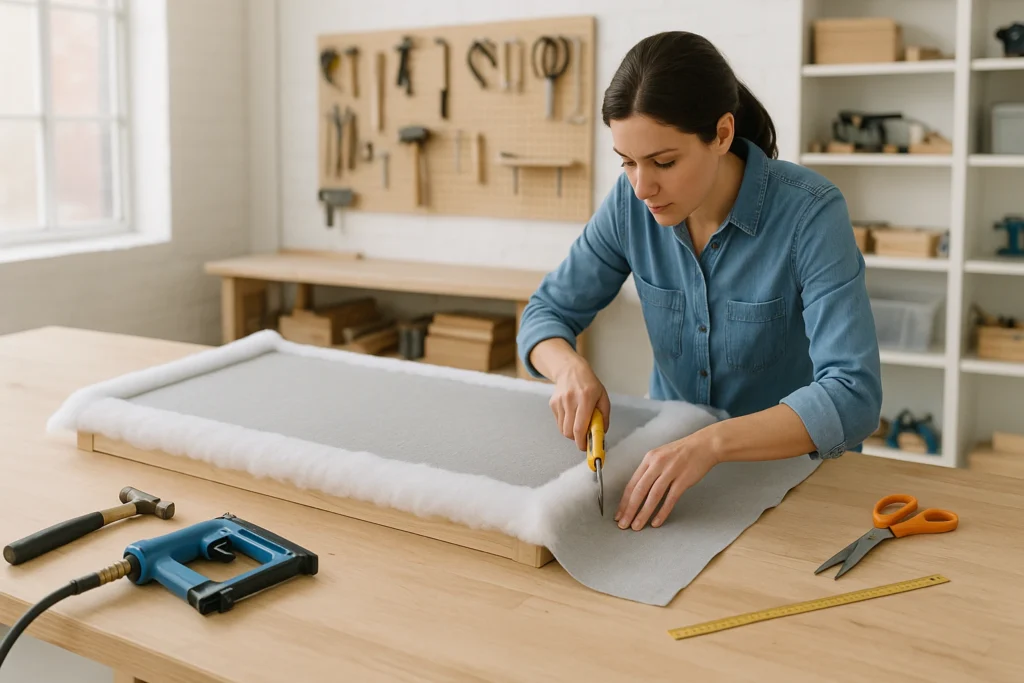
Creating the Foundation Layer
- Position batting over foam: Allow 6-8 inches of overlap on all sides
- Start stapling from the center: Begin with the center of each side, working toward the corners
- Maintain even tension: This prevents lumps in your diy upholstered headboard
- Check smoothness regularly: Step back to assess evenness before proceeding
- Trim excess batting: Leave enough material for a secure staple hold
Advanced Techniques for Professional-Looking DIY Headboards
Mastering Corner Techniques
- For batting layer: Create small pleats around corners rather than one large fold
- Prevent bulk buildup: Multiple small folds create smoother lines than single large folds
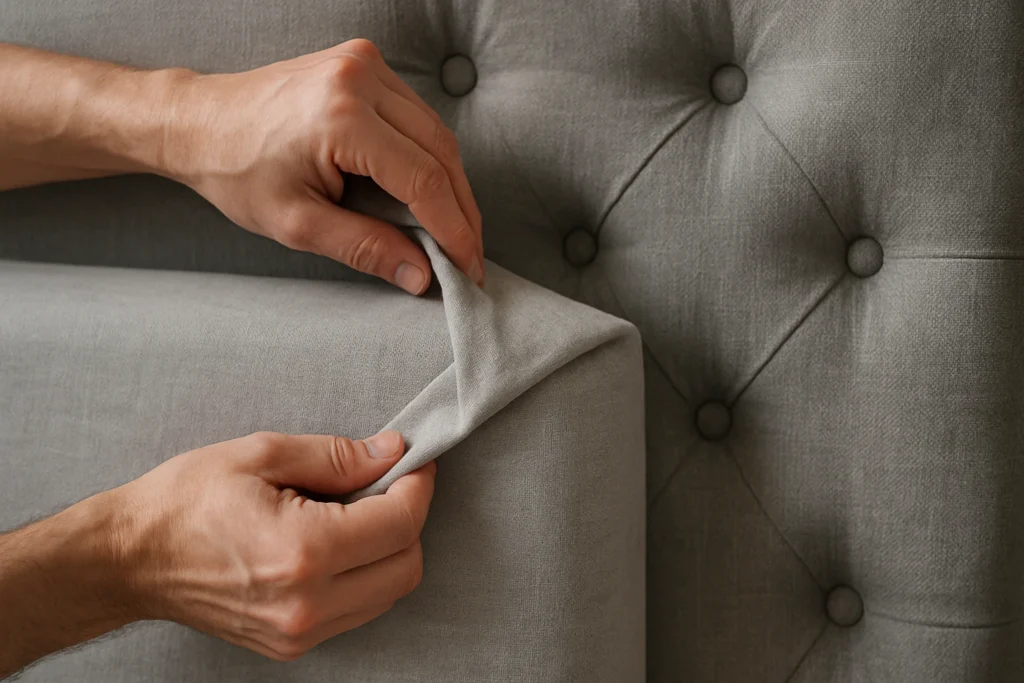
- For fabric layer: Use the hospital corner technique on your diy upholstered headboard
- Fold fabric straight down: Start from the top, then fold the side fabric over
- Create diagonal fold: This technique produces neat corners on diy headboards
Adding Tufted Buttons to Your DIY Upholstered Headboard
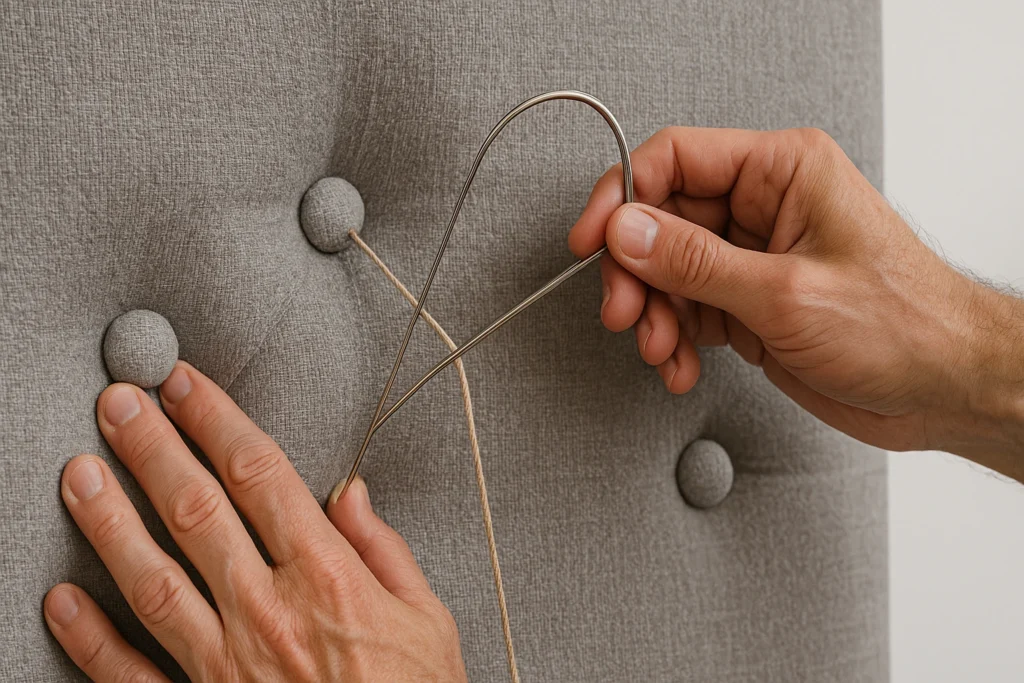
- Mark button locations: Space evenly across your headboard face using a measuring tape
- Plan button pattern: Common layouts use 8-12 buttons in 2-3 rows
- Drill holes completely through: Make holes just large enough for an upholstery needle
- Cover buttons with fabric: Cut fabric circles 2 inches larger than the button diameter
- Sew gathering stitches: Work around the edge, place the button in the center, pull tight
- Create a professional finish: This technique makes store-quality buttons for diy headboards
Fabric Selection Guide for DIY Headboards
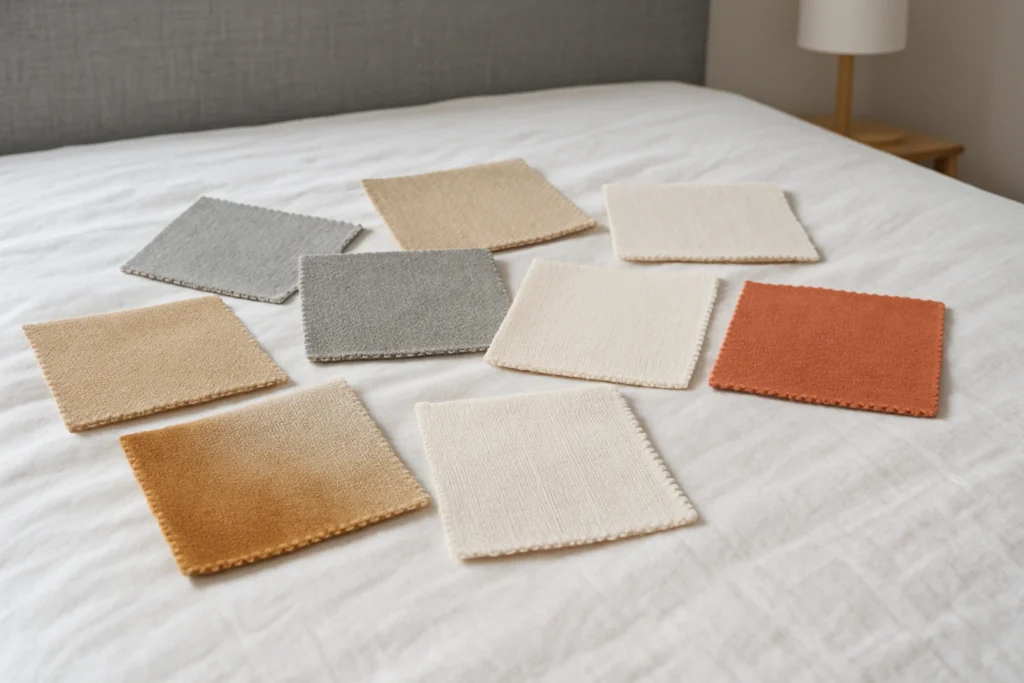
Best Fabric Types for DIY Upholstered Headboard Projects
- Upholstery-grade fabrics: Designed to handle tension and daily wear
- Cotton canvas: Durable and easy to work with for diy headboards
- Linen blends: Provide texture and a sophisticated appearance
- Velvet options: Create a luxurious feel for your diy upholstered headboard
- Avoid lightweight fabrics: Skip silk or thin cotton that shows imperfections
Pattern Considerations
- Scale patterns to headboard size: Large patterns work well on queen and king diy headboards
- Match smaller patterns: Better suited for twin and full-size diy upholstered headboard projects
- Purchase extra fabric: Account for pattern matching and centering
- Plan pattern placement: Center designs or match stripes across your diy headboards
- Consider room decor: Choose patterns that complement existing furnishings
Mounting Options for Your DIY Upholstered Headboard
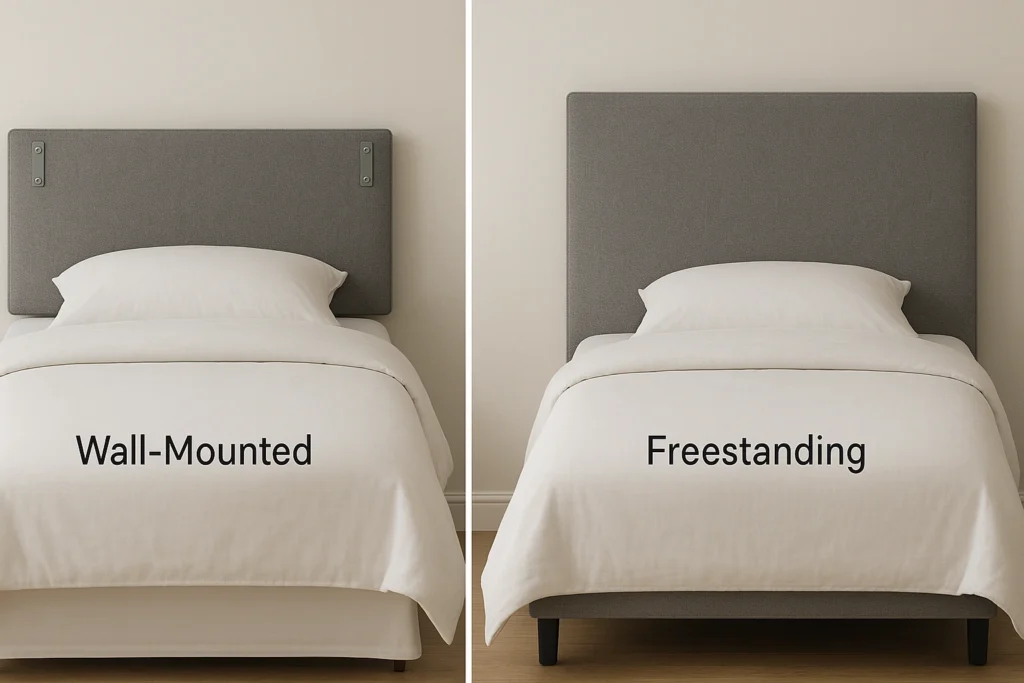
Wall-Mounted vs. Freestanding DIY Headboards
- Wall-mounted benefits: Provides the most secure attachment for diy headboards
- Space-saving design: Works well in small bedrooms and tight spaces
- Freestanding advantages: Use legs or a base frame that lean against the wall
- Renter-friendly option: Freestanding diy upholstered headboard designs require no wall modifications
- Stability considerations: Choose mounting style based on room layout and needs
Hardware Selection
- Heavy-duty wall anchors: Use anchors rated for twice the weight of finished diy headboards
- French cleats system: Provides the most secure mounting for heavier diy upholstered headboard projects
- Toggle bolts: Work well for hollow wall installations
- Wood screws: Use for mounting into wall studs when possible
- Safety factor: Always exceed minimum weight requirements for peace of mind
Troubleshooting Common DIY Headboard Issues
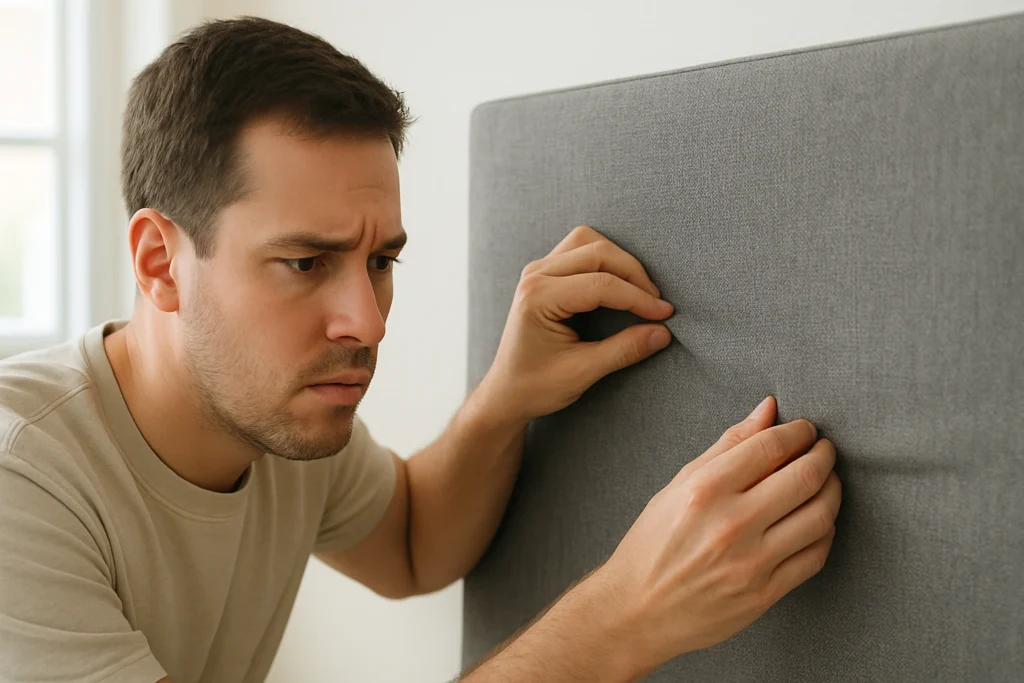
Preventing Sagging
- Use high-density foam: Prevents compression and maintains shape over time
- Choose an adequate board thickness: Ensure the base board resists bending under weight
- Add horizontal support strips: Install across the back of the board for larger diy headboards
- Check foam quality: Higher density foam lasts longer in diy upholstered headboard projects
- Consider weight distribution: Plan button placement to distribute stress evenly
Achieving Even Fabric Tension
- Work from the center outward: Start stapling at the center of each side
- Maintain consistent tension: Pull fabric taut but don’t overstretch
- Check tension regularly: Step back to assess evenness across diy headboards
- Remove and restretch: Fix uneven areas immediately for best results
- Take your time: Rushing this step compromises your diy upholstered headboard appearance
Maintenance and Care for Your DIY Upholstered Headboard
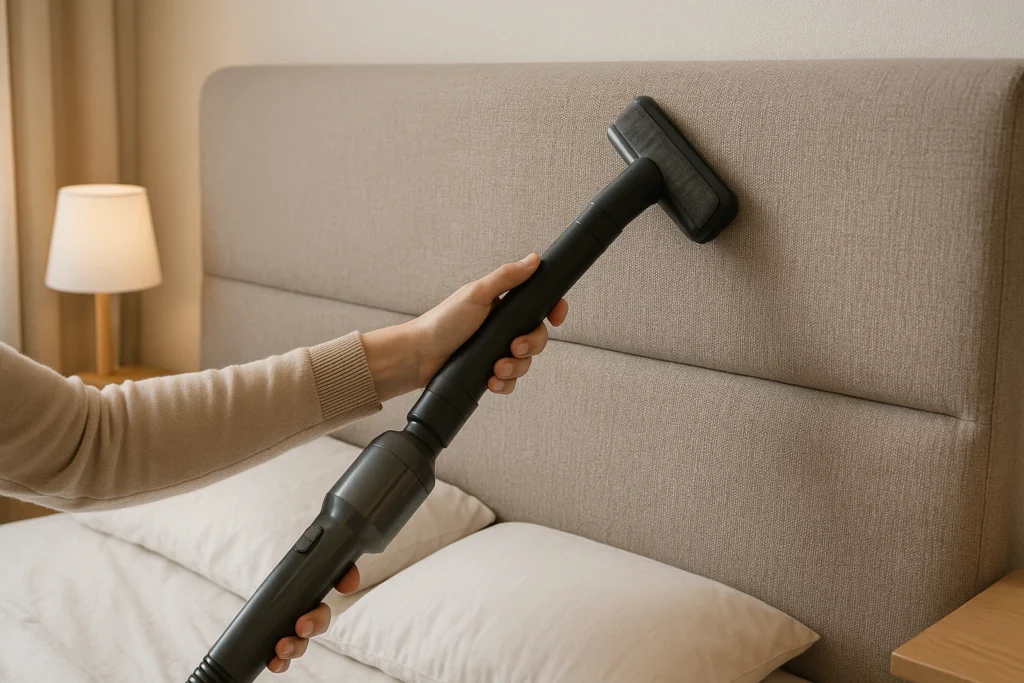
Proper care extends the life of your diy headboards significantly. Vacuum the surface monthly using an upholstery attachment to remove dust and debris. Address spills immediately by blotting (never rubbing) with a clean cloth.
For deeper cleaning, use an upholstery cleaner appropriate for your fabric type. Test cleaning products on a hidden area first to ensure they won’t damage or discolor your diy upholstered headboard.
Cost Analysis: DIY Headboards vs. Store-Bought
Creating diy headboards typically costs 60-70% less than purchasing comparable quality pieces. Here’s a typical cost breakdown for a queen-size diy upholstered headboard:
- MDF board and cutting: $40-50
- Foam and batting: $60-80
- Fabric selection: $50-100 (depending on quality and pattern)
- Hardware and tools: $30-50
- Total project cost: $180-280
Compare this to store prices of $400-800 for similar diy headboards, and the savings become clear. The investment in tools pays for itself with your first project.
Conclusion
I’ve walked you through everything you need to create stunning diy headboards that will completely change how your bedroom looks and feels. From choosing the right materials to mastering those tricky corner folds, you now have all the knowledge to tackle this project with confidence.The truth is, making your own diy upholstered headboard isn’t just about saving money (though saving $200-500 is pretty nice). It’s about creating something uniquely yours that no store-bought option can match. You get to pick every detail – the exact fabric that makes you smile, the perfect size for your space, and whether you want those fancy tufted buttons or a clean, simple look.
Sure, it takes a weekend and some patience, but trust me – when you step back and see your finished diy headboards in place, you’ll feel incredibly proud of what you’ve accomplished. Plus, you’ll have learned skills that open doors to all kinds of future projects.
So grab your materials, clear that workspace, and start creating. Your bedroom is waiting for its perfect diy upholstered headboard, and you’re ready to make it happen.
Frequently Asked Questions (FAQs)
Q1: How much does a DIY upholstered headboard cost?
Ans. Expect to spend $180-280 for materials compared to $400-800 for store-bought diy headboards.
Q2: How long does it take to make DIY headboards?
Ans. Most diy upholstered headboard projects take 6-8 hours over one weekend.
Q3: Can beginners make DIY headboards?
Ans. Yes! DIY headboards are perfect beginner projects with basic tools.